
Call Us Today!
Call Us Today!

Okay, so you’ve made the right choice to have a professional painter come and paint the interior of your house. How exciting to know that your house is going to have a fresh coat of paint and is going to shine like new!
Before your painting company can come and get started, there are a few things you need to do to prepare your house for interior painting.
Let’s take a look at what you should do to prepare your house for interior painting and what to keep in mind before your house is painted. If you’re curious about how long your paint job is going to take, check out our blog post about this subject.
Interior painting can drastically transform the aesthetics of your home. It is crucial to ensure proper preparation before starting the painting process.
Kind Home Solutions will guide you through the necessary steps for paint prep for walls, from cleaning and priming to sanding and taping.
By understanding and implementing the right prep techniques, you can ensure a more efficient painting process and a smoother finish.
Whether you’re a novice painter or an experienced DIY enthusiast, you’ll benefit from these tips and tricks. If you’re curious about how long your paint job is going to take, check out our blog post about this subject.
Revamp your home with professional interior painting from Kind Home Solutions. Contact us for a FREE quote.
 When preparing for an interior painting project, it’s important to start with cleaning and patching the area you plan to work on. Along with choosing the right shade of paint, the prep work can drastically improve the outlook of the room.
Cleaning is key during prep work; it aids in removing dust and grime off the wall, which would otherwise cause unnecessary damage to the fresh layer of interior paint.
Paint doesn’t hold well in an area that is dirty or oily; hence, cleaning is essential to achieving a flawless finish.
While patching, you need to look for any imperfections on the chosen wall, such as minor dents or holes from previous hangings.
These rough spots can compromise the overall finish of the paint job. The work usually involves repair tasks like filling holes with appropriate materials, sanding the surface, and applying primers suitable for the paint type.
Whether working with wood sections or exterior parts projecting into the room, this process ensures a seamless look throughout the painting area.
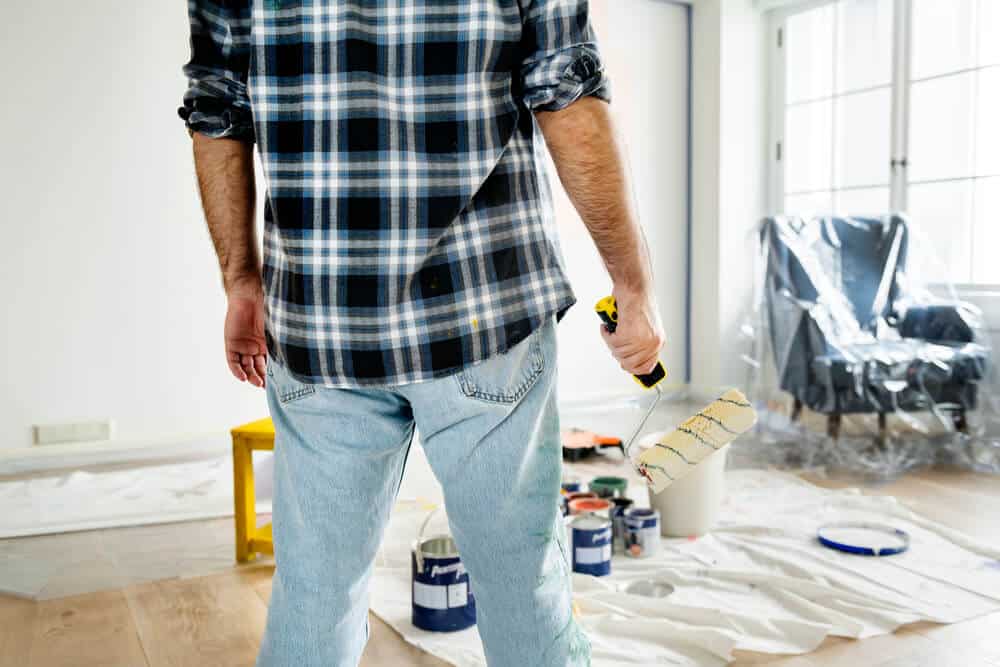
Lastly, don’t forget to shop for essential items like an adequate amount of paint, rollers, and other painting tools. Your goal should be to transform the room, not just change its color.
One of the first things you’ll want to do is to remove any wall hangers you have in your house. This includes any art, mirrors, pictures, and anything else you have hanging in your house.
You could just put these with your furniture and cover them, but the best idea is to move them somewhere out of the house so that they’re completely safe. If you plan to hang things back up in the same spots, you can just leave those nails in and they’ll be painted over.
Whether your plan involves DIY or employing professional painters, the first step to prepping your room for painting is to remove all items from the room.
This includes wall hangings, exterior elements within the room, and any other items attached to the wall.
Prepare to utilize specific tools that aid in this removal process, and keep in mind that some items may require unique methods for removal. If you run into wallpaper while preparing the wall, keep in mind that you’ll also need to remove it before painting.
Once you’ve removed everything from the wall, you will need to repair any defects. This could involve wood repairs or patching holes and cracks in your wall.
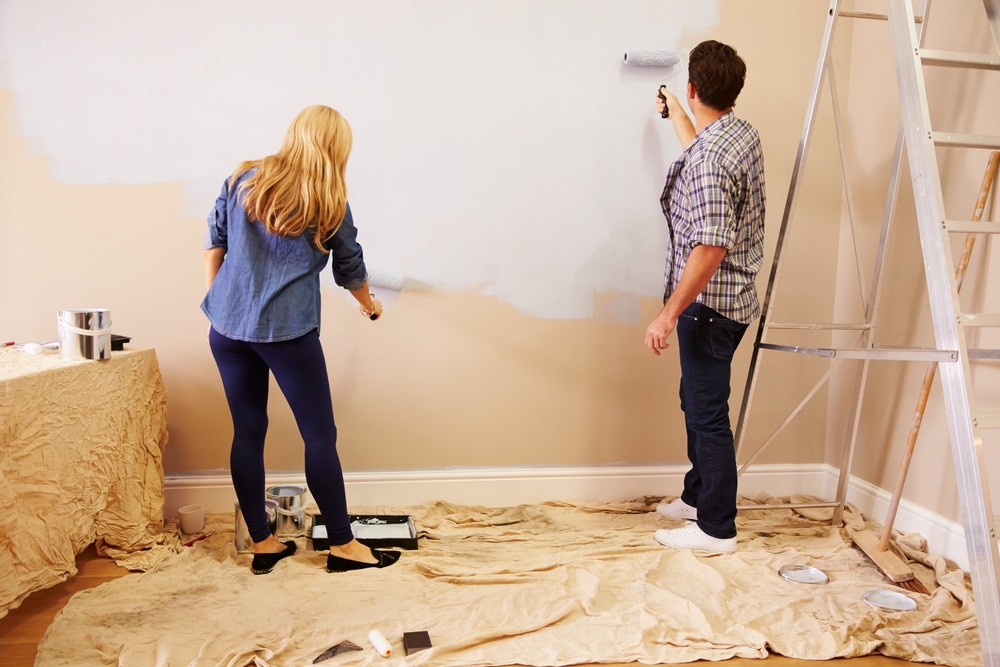
After the repair, use masking tape to protect areas from unwanted paint. The next step in your wall prep is to wash the wall to remove dust, dirt, and grease that may affect your paint application. Tackle this task using a mix of water and mild detergents.
From this point forward, you are ready to paint, ensuring a uniform, beautiful result in your room. Whether you choose to go the DIY route or hire painters, properly prepping your wall will contribute significantly to the final output of your painting project.
Along with removing your wall hangings and pictures, you’ll want to take down any freestanding ornaments or decorations you have in your house as well.
Again, you can choose to cover these items with a drop cloth or sheets, but if you are concerned about anything of value or with sentimental feelings behind them, you might choose to remove these items from the house, perhaps to your garage or basement if it is not being painted.
This is one of the big ones. You will need to make sure all furniture is moved to the center of the room and is covered with a drop cloth.
If you don’t have a drop cloth, plastic sheeting from a hardware store works great too.
You can also use any old sheets you have around the house, but keep in mind that they will likely get paint on them.
This one seems obvious; however, each day the paint crew will need access to your house. You can do this through a lockbox, or just simply coordinate meeting the team at the house in the morning of your scheduled paint days and unlocking the door.
If you’re looking at a full interior repaint, then we highly recommend you stay somewhere else if possible.
Large interior painting projects like that will require a lot of plastic and prep, which can make it very difficult to live comfortably through the painting process. If a hotel, friend, or family member’s house is an option, it can be a huge lifesaver.
Make sure to either move or cover things like TVs, sound systems, game consoles, ovens, and fridges. They can get spoiled by paint or get harmed if painters try to shift them. If you don’t have big enough covers, that’s okay. The painters will provide cloth to cover your things. But remember that paint can still splash on covered items, especially when painting above. So, it’s best to move things to a different room if you can.
Roll up your mats and rugs and put them in another room. Take down your curtains and blinds too. Even if you’re not painting the ceiling, it’s a good idea. Wrapping your rugs in plastic can give them an extra layer of protection. Honestly, the more stuff you move out of the room, the less likely something will get accidentally painted. Plus, with less clutter, you can clean the room and walls better before painting starts.
Any curtains or rugs around the house should be removed to ensure no paint is dripped on them. They can just be placed with the furniture under the drop cloth.
 When engaging in interior house painting, it’s vital to prepare your home properly. A crucial step before applying interior paint is to ensure the interior walls are prepped adequately.
Proper preparation not only helps the paint interior adhere to the surface better but also makes the interior color stand out. Undertaking professional painting involves thorough prep work.
Preparing your home for painting interior spaces contributes significantly to the overall home painting outcome.
When dealing with room paint, primer is a critical tool in the paint prep process. Its application ensures a uniform color and smooth surface.
Home painting involves more than just slapping a coat of paint on the walls. The heart of the project lies in the prep work.
Prepping your home before the painter arrives offers numerous benefits, ensuring a smoother painting process and optimal results.
Here are some of the main advantages:
When you have everything ready, the painter can dive straight into the main task, which helps in completing the job faster.
If you’re being charged by the hour, having your home prepped means less time spent on preliminary tasks, potentially reducing labor costs.
By moving and covering your belongings, you prevent paint splatters, potential damage, or breakage.
A well-prepared surface ensures a smoother application of paint. Cleaning and fixing imperfections in advance means the paint will adhere better and look more polished.
Clearing out a room reduces the risk of trips, spills, and other accidents for both you and the painter.
It’s much easier for painters to navigate and work in a decluttered space. This reduces the hassle of maneuvering around obstacles, ensuring a more seamless painting process.
Knowing you’ve done your part in preparing reduces anxiety. It ensures that you and the painter are on the same page, with a clear workspace ready for transformation.
Prepping often involves cleaning walls and surfaces. This not only helps with paint adherence but also ensures that dirt or dust doesn’t get trapped under the new paint.
As you prep, you might spot wall damages or issues that were previously overlooked, ensuring they get addressed before painting begins.
Taking initiative in the process can give you a sense of control and involvement, ensuring the final outcome aligns with your vision.
It’s always a good idea to ask your painter if there are any other specific things that they want you to prep your house with. The items listed above are what we at Kind Home Solutions request, however, every painter is different so check with your paint pro.
Hopefully, this has helped answer your questions about how to paint your house for interior painting. If you have any more questions or would like a free estimate to paint your house, please give us a call at 720-807-9068 or contact us via our estimate form.