
Call Us Today!
Call Us Today!

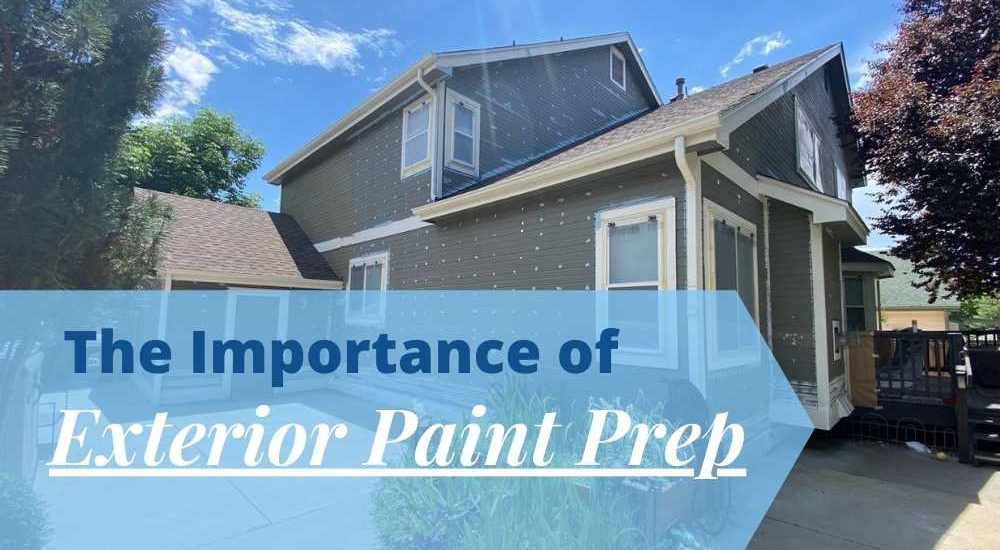
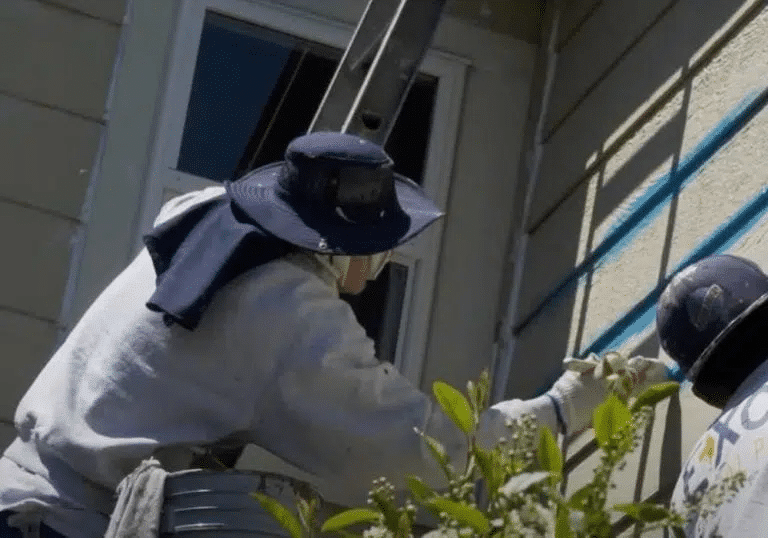
Paint prep is not always the first thing that comes to mind when you look at tackling painting your home. However, proper paint prep is critical for a flawless paint job. So, what does paint prep entail? We’re so glad you asked! Paint prep happens before you actually even take a paint brush to it. Paint prep is all about creating a clean, fresh canvas so that your paint products will properly adhere to the surface of your home. There are multiple paint prep steps you or your painter should take for different projects and surfaces. We’re going to go over the importance of paint prep and take a look at the best paint prep practices for painting a standard Colorado home.

When it comes to painting your home’s exterior there are a few things you’ll want to be aware of. You should do a thorough inspection of the home before you begin the paint prep process. Things to keep an eye out for include: rotten siding or trim, loose nails, bare wood, flaking, bubbling, or peeling paint, as well as dirt and debris. We mentioned earlier that paint prep is all about creating a clean canvas so products can perform at their best. Paint prep may feel a bit tedious, but it’s critical in order to get the finished product you want and to create a long lasting paint job.
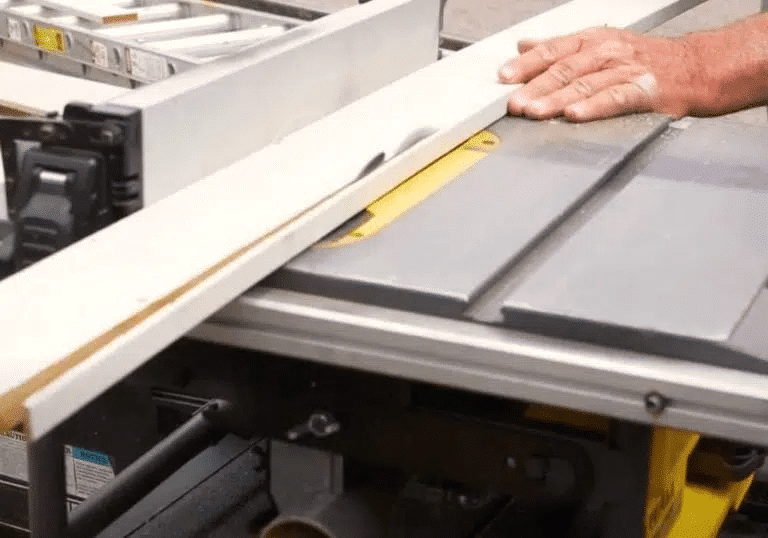
One of the first things you’ll want to do is replace any rotten boards. You should think about your paint as the outermost layer of protection for your home. As your paint breaks down over time it’s integrity is compromised, which can allow water to reach the substrate beneath. Over time, this can lead to warped and rotten boards. There are some instances where you can save some money and avoid replacing the board by “prepping it out”. When a board is prepped, the painter is using fillers and sealants to seal the board from any new water damage. This can definitely save you some cash in the short term but it’s important to note that this will not result in a board that looks brand new. If you’re concerned about addressing the issue long term and having the best possible finished look, we recommend replacing the board itself. You can replace the boards yourself or ask your painter if that’s something they can help with. At Kind Home Solutions we provide wood working services so the exterior paint process can run smoothly and efficiently under one roof.
In the same vein as wood replacement, you will want to make sure all boards are secure on your home. Check for any loose nails that have popped out and hammer them back in. If the nails are no longer catching (they aren’t securing to the home) you or your painter will want to simply replace them with screws. Again, this paint prep step helps to create a strong barrier to keep moisture out and keep your home sealed and protected.
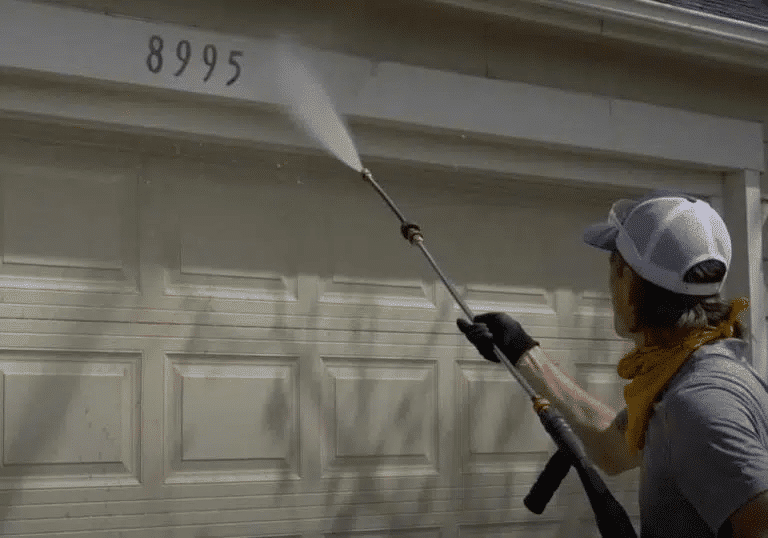
Is pressure washing your home before painting really that important? YES! Now, when we talk about a pressure wash you’re really looking for a light rinse. There is a time and place for a high pressure wash and this is not it. Pressure washing your home before painting will ensure you’ve removed any dirt, debris, and cobwebs. If you’re not comfortable pressure washing your home or you don’t want to rent or hire a pressure washer you can always wipe down the house by hand. This will obviously take quite a bit more time; however, it has the same desired effect. If you would like to learn more about our pressure wash process, check out our article, What to Expect From a Pressure Wash. WARNING! If your home is lead positive you should NOT pressure wash it as this can spread lead paint chips.
Fun pressure wash fact: We’re not sure if this is actually fun, but it’s still important to be aware of––if you regularly get your windows cleaned, we recommend doing this AFTER a pressure wash. A standard rinse will use water from a spigot with no additives, so this can lead to your windows getting dirtier throughout this process.
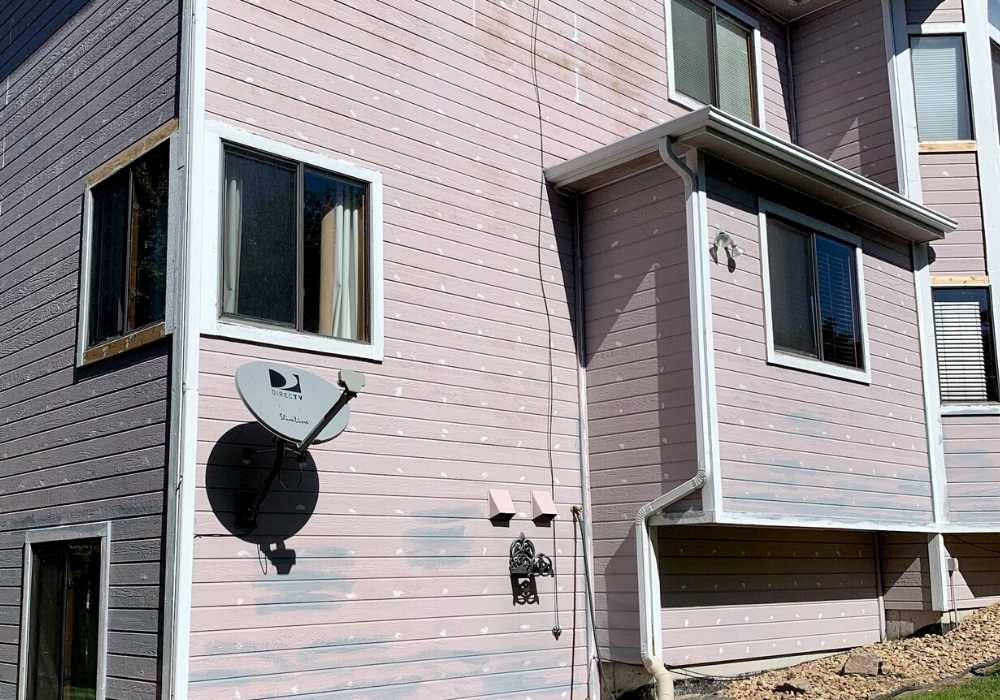
To create a smooth, even surface you need to scrape all of the failing paint. This can also be a fairly tedious activity, but it will make a huge difference in how your paint adheres. A common misconception is that if the paint is thick enough or enough coats are added, it will cover any problem areas like this. Paint does a great job of sealing things up, but it will show whatever texture is beneath it. That means if you leave bubbled or flaking paint on the home before painting, you will most likely still see that after the paint has been applied. Thorough scraping and removal of these areas will give you a better finished paint project.
Again, there are different precautions you need to take if your home is lead positive so be sure to test your home if it was built before 1978. If your painter is lead certified, they should be able to help test your home.
If you have smooth MDF siding on your home it’s very important that you pay close attention to your home and address failing paint as soon as possible. Smooth MDF has no texture and is completely smooth. This means, when paint fails and needs to be scraped off, it will create a hard texture line on the board. This hard texture line is unavoidable and very little can be done to hide that line. Smooth MDF can’t really be sanded down either, because it’s a fiberboard made up of wood fibers, wax, and a resin binder. This would be like trying to sand down a piece of Ikea furniture which we don’t recommend! Be sure to keep a close eye on this and if you see any paint starting to wear down or flake off, make sure you’re getting that sealed back up as quickly as possible to maintain the look of your siding.
This is the part of the paint prep that we all know about! Caulking the exterior of your home just helps to seal everything up so outside elements can’t cause damage to your home. It’s important that you or your painter use a high quality caulk. We recommend using Shermax Urethanized Elastomeric Caulk or the Guiry’s Lifetime Elastomeric Caulk on the exterior of your home. Common areas to pay attention to are spaces around windows and doors, seams where two boards meet, and of course, nail holes. Please be aware, there is such a thing as overdoing it with caulking. A good thing to keep in mind is that whatever texture you add to the surface with the caulk is what you’ll see through the paint.
When you are caulking nail holes, it’s very important that you only caulk the recessed nail holes. This is a very common misconception within our industry; the idea that you should caulk every single nail hole on the house. Please do not do that! As we’ve already mentioned, caulk with create texture wherever you use it. So, if you caulk nail heads that are flush with the board then you’ll end up with little raised dots all over your house. Save yourself the time and headache and focus on recessed nails only. The goal here is to seal that small hole so that water doesn’t get in and damage the board. Caulk will shrink as it cures so you will not end up with a completely smooth finish, but your board will be protected.
 We all know how important it is to protect your siding and trim. If you don’t know this, scroll back up and re-read the bit about woodwork. Priming is another step within the prep process that we’re all familiar with. Make sure that you or your painter prime any bare wood or boards that have a lot of wear and tear. We also recommend paying special attention to areas where snow might sit. You should prime the bottom few boards of the house along with the boards just by the roof line to ensure these areas are taken care of.
Similar to paint and caulk, not all primers are created equal. We recommend using a peel bond primer as this is stronger than regular primer and really helps with boards that are pulling apart. Using the top quality primer is especially important when painting an exterior, because ultimately you are trying to protect the surface from the outside elements.
A large part of the paint prep process has nothing to do with the paint adhering. It’s all about protecting the work space from any paint spills or over-spray. If it’s your first time using a sprayer, you’ll want to be extra careful to put plastic down and tape off windows. Over-spray is a very common mistake when you’re not comfortable with the sprayer so spend the extra time protecting everything to ensure you don’t make a mistake and end up with paint on something you didn’t intend.
We recommend using plastic film and tape to protect your windows. When taping off brick use 12 inch paper and brick tape for the best results. If you don’t have brick tape available, 1.5 inch tape should work as well. For decks and concrete, which tend to be big areas of concern, make use of drop cloths to protect those hard surfaces. If you do get paint on your deck, just act quickly and wipe it up. For paint drops on concrete, our Project Managers recommend letting that dry and then using a metal scraper to work that out of the concrete.
Now you’re probably thinking, paint prep is going to take more time than the actual painting! This can be true; however, if you keep up with your home and use high quality products, you shouldn’t experience a ton of breakdown. It’s critical to make sure your paint prep is thorough and appropriate for the climate. If you’ve read this and are thinking to yourself, “There’s no way I’m doing all of this!” we highly recommend contacting a professional paint contractor to assist you with the process. Often DIY projects are underestimated (we’re all guilty of it) but paint prep is really that important. Do it right the first time or don’t do it all, right?