
Call Us Today!
Call Us Today!

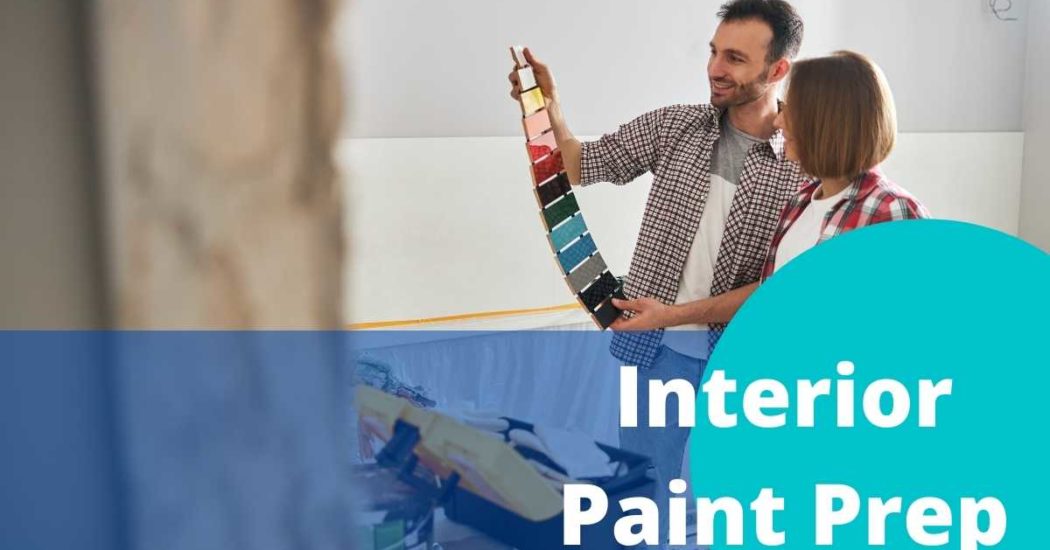
Thinking of tackling a DIY interior paint job? Let this guide walk you through how to prepare your house for painting the right way. As experienced Denver painters, we’ve met many homeowners who painted their own interiors—only to swear they’d never do it again. While painting can be rewarding, it’s no simple task.
One of the most crucial steps in the process is painting preparation interior. Proper prep work sets the foundation for a smooth, lasting finish. Whether you’re painting walls, trim, wood features, or furniture, each surface often needs repairs, sanding, and cleaning before that first coat goes on.
The level of effort you put into preparing your house interior for painting will directly impact how polished and professional the final results look. So if you’re wondering how to prepare house for painting, it all starts with smart, thorough prep.
If you’re apprehensive about starting with your own paint job, you can get the help of a professional house painter. Our crew at Kind Home Solutions is a house painting company that offers both painting prep and house painting.
But if you want to go ahead with the prep work, here are some ways to do so…
Jumping right into an interior painting project can cause disaster if you’re not careful.
One way to make the process smoother is to carefully assess your walls for needed repairs. Are there cracks, holes, and bumps that you need to deal with before applying new paint?
List all the materials that you may need to buy if there are additional repairs needed. Create a working checklist of what you will do so that you have a reference while accomplishing the project.
Before starting any repairs that your walls need before painting, move all furniture away from the walls and cover your floors. It’s essential to cover your floors and furniture as well as possible! This will help with clean-up after your project is complete and ensure you don’t get paint splatter on your furniture.
It’s best to flooring paper to protect your floors from any spills or paint splatter. You’ll want to ensure that all surface areas are covered and taped down. The last thing you want is to get paint on your carpet or hardwood floors!
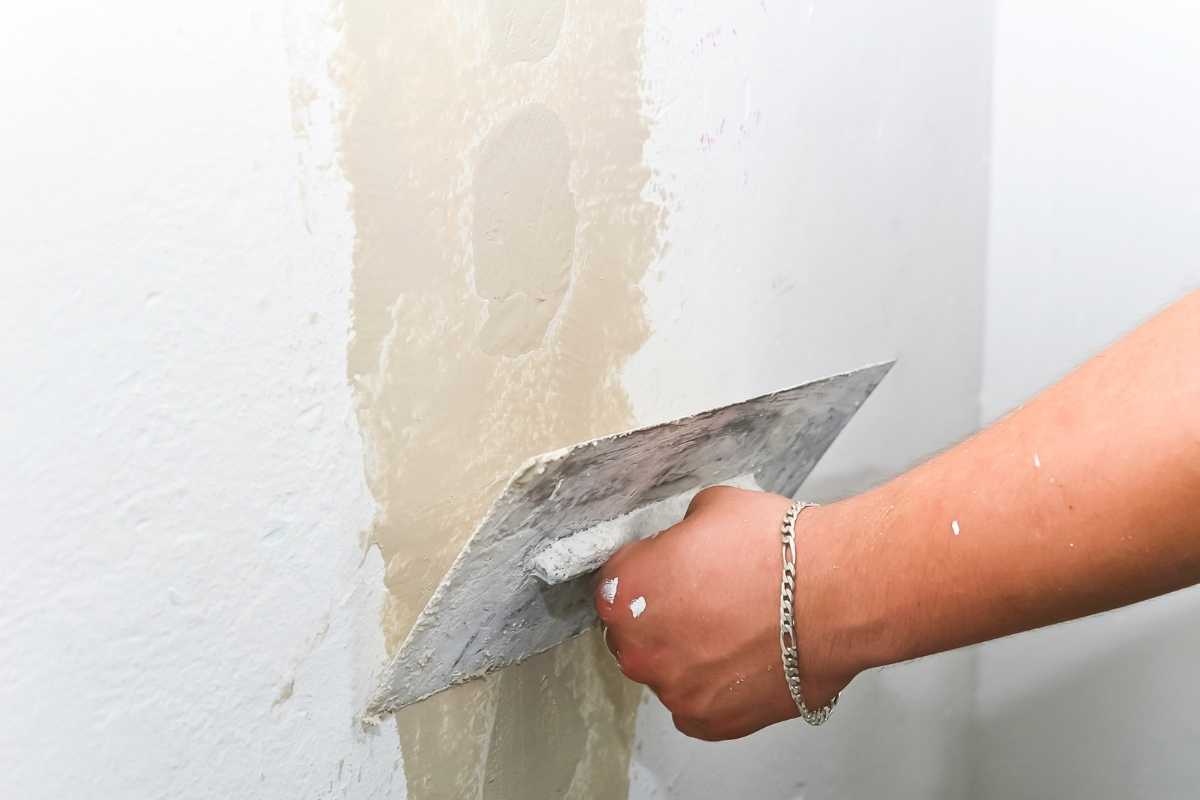
After carefully assessing your walls and determining which areas need repairs, attend to them immediately. Do not skip this step because it will cause more costly repairs in the future if you neglect repairs. Any cracks or holes will still be visible if not properly taken care of.
You can use Spackle to fill holes or divots. Spackles are great for nail holes because they dry out clearly. For larger holes, you will need to apply a drywall patch and joint compound.
Patching up holes and repairing cracks and other uneven surfaces on your wall will ensure that you have a crisp and professional finish after painting.
Be sure to sand down any patches after the compound is dry so that you have a smooth surface to paint.
If you have really dirty walls it is a good idea to remove any dirt and grime.
You can clean most walls with just a sponge and some warm water. For areas that have been exposed to grease, oil, etc. you can use warm water, a sponge and mild soap. Another option is to use fine-grit sandpaper to remove any excess dirt.
Oftentimes cleaning your interior walls isn’t completely necessary and you can get away with not. But, if you do have those areas that have been exposed to a lot of wear it is a good idea to give them a scrub. Be sure to let the walls dry before you apply any paint.
You will want to sand down any bare boards, trim or cabinets to ensure that those surfaces are ready to paint. The grade of sanding paper you use will depend on the type of finish you want to achieve.
Although a primer is not necessary for all interior wall painting projects, it can be a good option when your wall has a porous surface or you’re going from a very dark color to a light color.
The primer will help to cover up the old, dark color before applying your paint.
We recommend using a high-grade paint when painting your interior walls. This will give you better coverage and durability. Check out this video about the best interior paint product that we use on our Denver interior paint projects.
Unscrew all outlets and switch plates and cover the remaining parts with painter’s tape so that you will not accidentally have paint on them. Place the removed parts in one bag, so you can access them easily when you need to reinstall them.
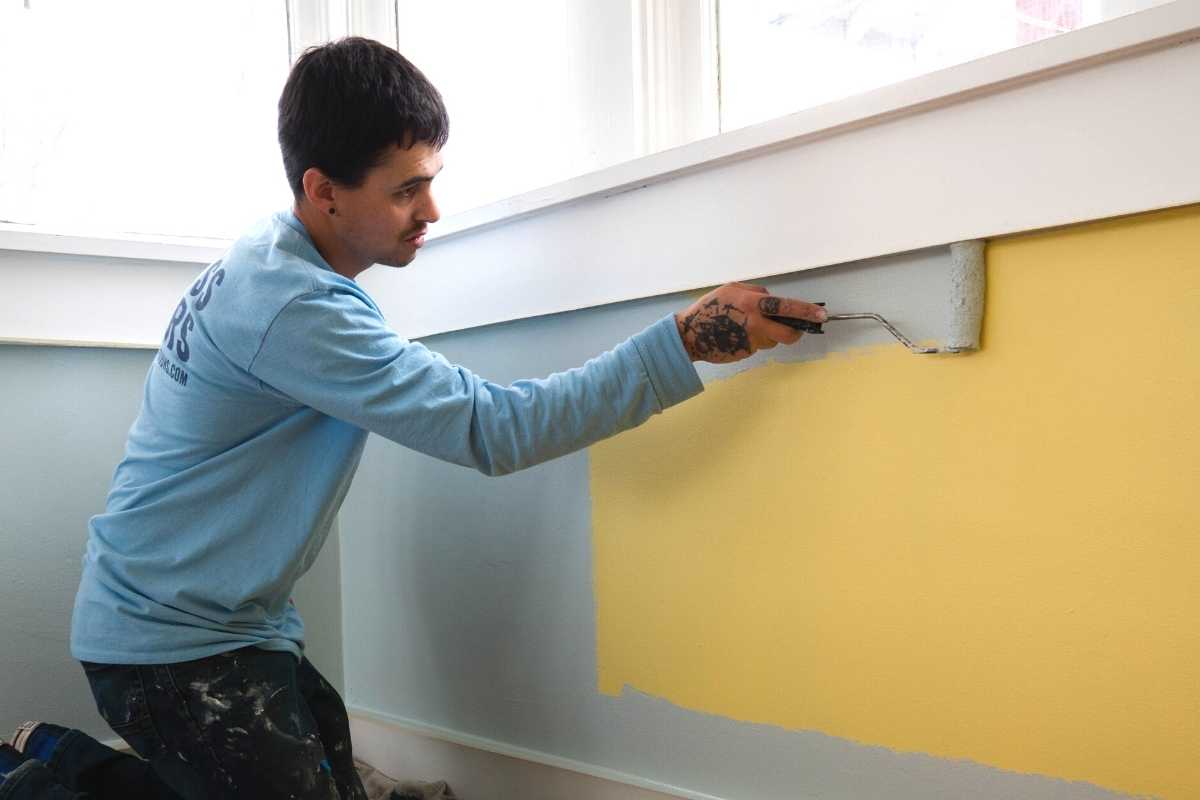
Tape all trim and where the walls meet, especially when you plan to have different colors of paint for your walls. Protecting areas where you don’t want the paint to be placed will create a smooth finish and a crisp line.
There is a correct way to apply paint and a wrong way. At Kind Home Solutions we spray all of our interiors. Spraying gives you that professional finish and helps to avoid any streaks or brushstrokes in your paint job.
If you are painting by hand we recommend using rollers for the walls for better coverage and efficiency. If you properly taped all of your walls at the edges you should get those crisp lines when you are finished. This is by far the most satisfying part of the paint process!
There is also a correct order when painting. If you are painting your ceilings you should paint those first, then the trim and finally the walls. Always make sure that the paint is dry before moving on to the next section that you’ll be painting.
Preparation is key to a smooth and perfect finish in any interior painting project. If you are not confident in your skills in interior painting, you can always hire a professional interior painting contractor who can greatly simplify the process.
Kind Home Solutions is made up of professional painters who are also more than happy to help out prep your home and give you that professional paint job you deserve!
Call us at 720-807-9068 today!
REFERENCES:
https://www.familyhandyman.com/list/10-simple-steps-interior-paint-prep/
https://jennakateathome.com/how-to-prep-walls-for-painting-for-best-results/
https://www.dulux.co.uk/en/articles/preparation-and-tools
https://www.wickes.co.uk/how-to-guides/decorating/prepare-interior-woodwork-for-painting
https://trustedtraders.which.co.uk/articles/how-to-prepare-and-paint-interior-woodwork/
https://www.hamiltondecoratingtools.co.uk/knowledge-room/guides/how-to-prepare-walls-for-painting/