
Call Us Today!
Call Us Today!

Painting metal can be a great way to spruce up your home and add some style to your furnishings. Before you pick up a brush, there are some things you need to know about painting metal.
This article will walk you through the basics of painting metal, so you can get the job done right.
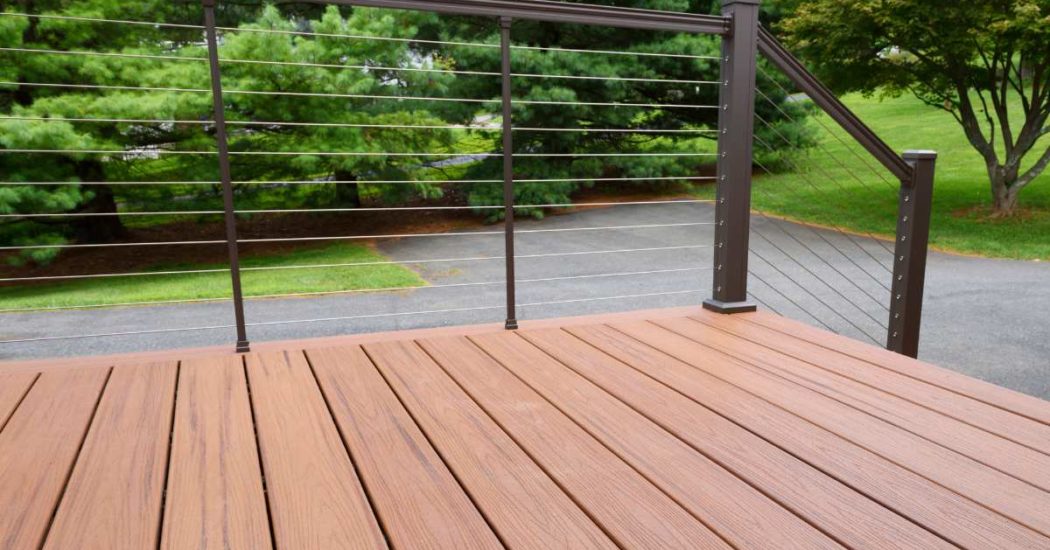
Aluminum is one of the most popular metals used for painting and can usually be found in outdoor furniture, storm windows, and siding. Steel is a more durable option and is commonly used for projects such as railings and car parts. Copper and brass can also be painted but need special care when doing so.
You also need to take the environment and weather into consideration. Aluminum may not hold up well in salty or wet environments while steel could hold up better with regular maintenance.
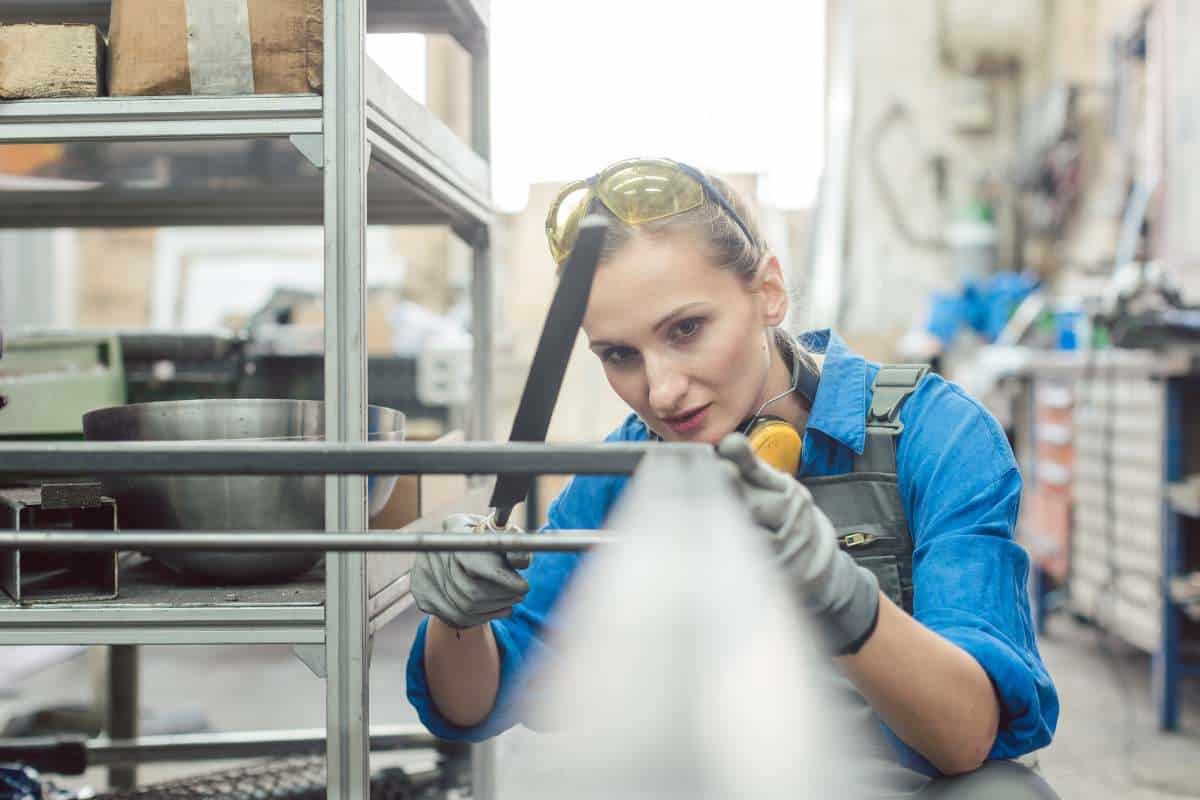
Before you can begin painting metal, it’s important to prepare the surface properly. This includes removing any dirt, grease, rust, or other contaminants that may be present on the metal and sanding down any existing paint.
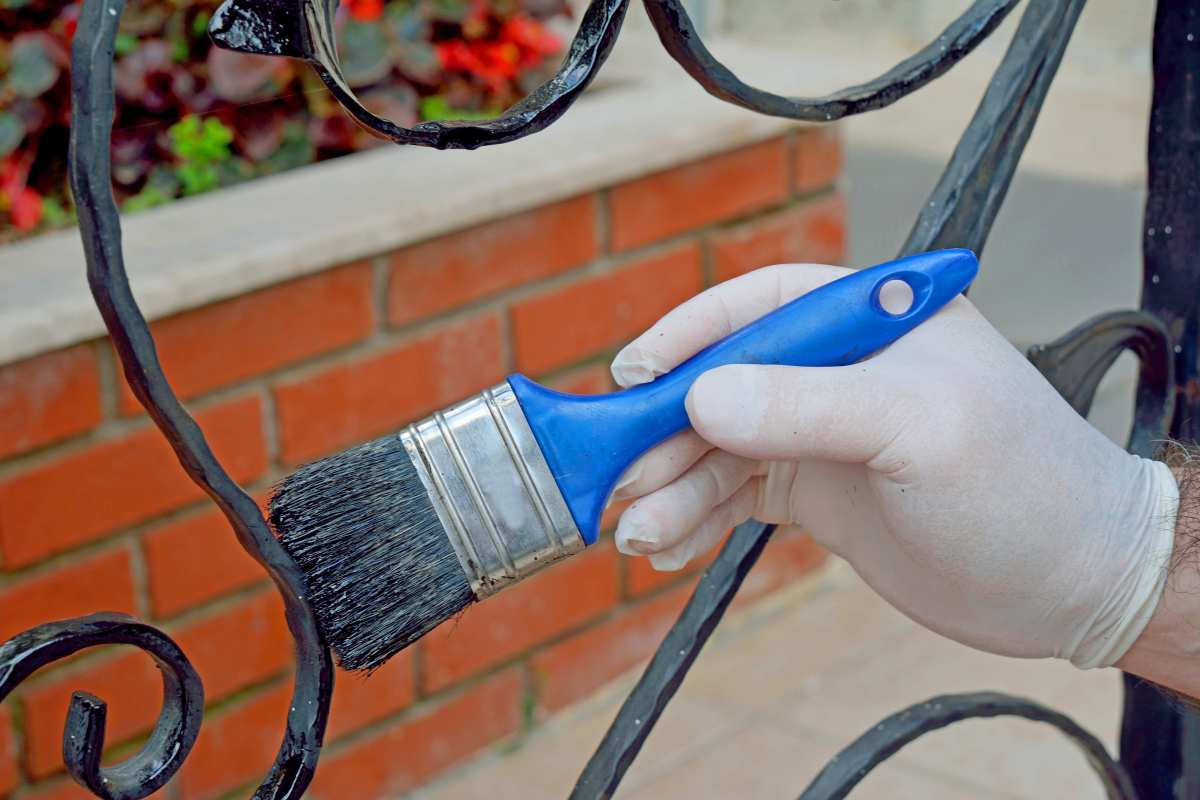
It’s also important to make sure that the surface is completely dry before beginning any painting process. Once the surface is prepped, it’s time to apply a primer coat. Primer helps protect against corrosion and provides a better base for the paint to adhere to.
You should always use a primer specifically designed for use on metal surfaces in order to get the best results. Allow the primer to dry completely before moving on to the next step.
Once the metal surface is prepped and ready for painting, it’s time to select the appropriate paint and primer. It’s important to choose a paint that is specifically designed for use on metal surfaces, as it will provide better protection against corrosion and wear. Look for paints that contain rust inhibitors or have additional protective properties, such as water repellency or resistance to UV light.
While oil-based primers may have superior adhesion qualities and protection against corrosion, they are difficult to come by in several states due to EPA restrictions because of oil-based primers’ toxic properties. Water-based primers are also an option, though they may not provide quite as much protection as oil-based ones do.
Once the primer has been applied and allowed to dry, it’s time to apply the protective coating. This is an important step that will help ensure your paint job resists scratches and wear for years to come.
There are several types of protective coatings available, so make sure to choose one that is best suited for the type of surface you’re painting. For example, if you’re painting a metal gate or fence, you may want to invest in a clear coat or sealant that is specifically designed for outdoor use.
The environment in which you paint will have a direct impact on how well the paint adheres and how long it will last. If the temperature is too low or too high, the paint may not adhere properly, while if the humidity is too high, it can cause bubbles to form on the surface.
Temperatures between 50-85 degrees Fahrenheit and humidity levels from 30-70% are ideal for painting metal. If these conditions aren’t available naturally, try using a dehumidifier or air conditioner to regulate them in your workspace.
Also, take into account any potential hazards that could be present when working with paints and solvents. Make sure to wear protective gear such as gloves, goggles, and a breathing mask whenever necessary and provide adequate ventilation in the area where you’ll be working.
By taking these precautions, you’ll ensure a safe and successful painting experience!
You’ll need a good quality paint brush or roller, as well as a surface primer and the type of paint that best suits your project. If you’re painting indoors, it’s also important to have drop cloths on hand to protect your floors and furniture from any dripping paint.
In addition to these items, make sure you have a supply of solvents handy in case of any accidental spills or splatters. Solvents can help break down the paint so that it can be cleaned up more easily.
You may also want to invest in a respirator if you plan on working with any potentially hazardous substances like lacquers or enamels. Don’t forget about basic safety precautions such as wearing gloves and goggles when working with paints or solvents.
Before painting metal, proper surface preparation is key to ensuring strong adhesion and a smooth, durable finish.
Begin by using coarse-grit sandpaper to remove rust, dirt, or old paint. Then, switch to finer-grit sandpaper to smooth out imperfections and create an even surface.
After sanding, wipe the surface with a damp cloth to eliminate dust and debris. Next, use a rag and a suitable solvent or degreaser to remove any lingering oils or contaminants.
Before painting, allow the metal to fully dry, especially in areas where solvents were applied, to prevent adhesion issues.
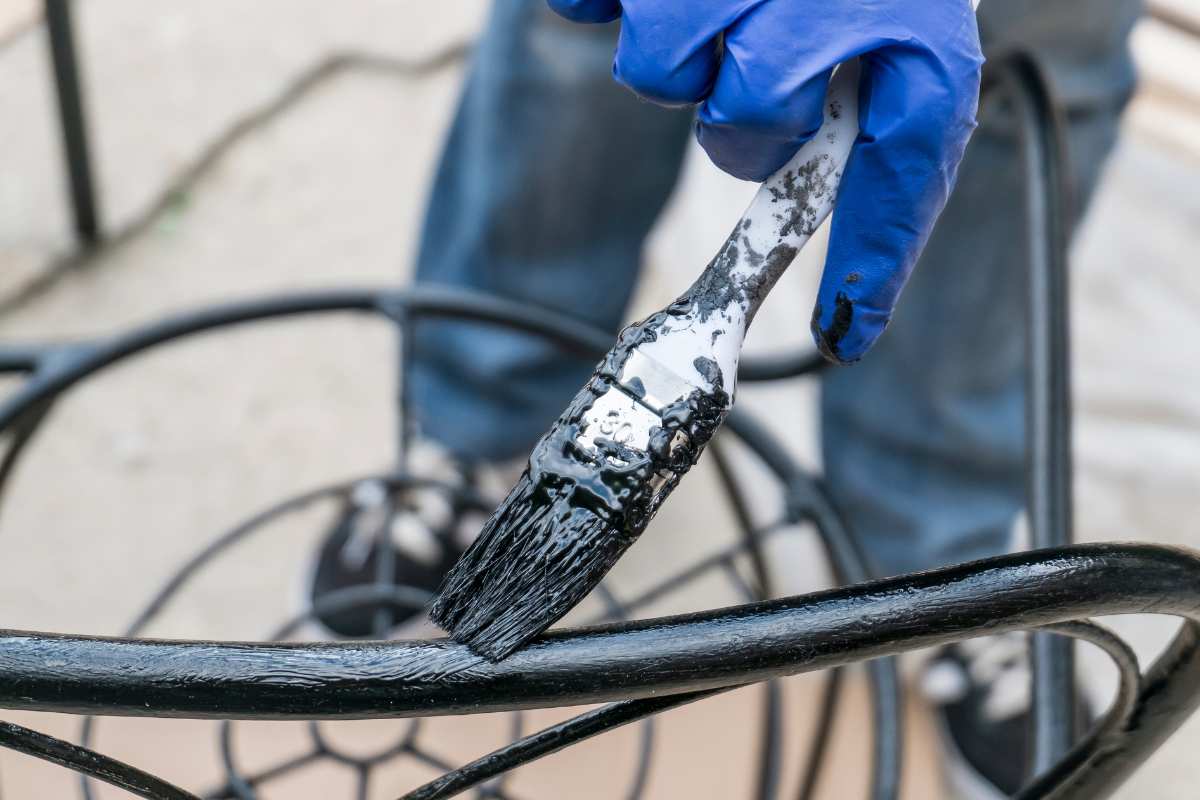
Now that the metal surface has been properly prepared, it’s time to apply the paint. To ensure a smooth and even finish, use multiple thin coats of paint rather than one thick coat. This will also help prevent any runs or drips from forming on the metal surface.
When applying each layer of paint, use long, even strokes to cover the entire area evenly. It’s best to do this in a well-ventilated area and always wear a face mask while painting to protect your lungs from any potential fumes. Allow each layer of paint to dry completely before adding another layer so that you don’t end up with any smudges or uneven patches.
Once all of the layers are applied and have dried, inspect your work carefully for any streaks or missed spots that may need to be touched up.
Drying time is how quickly the paint appears dry on the surface of the metal while curing time is how long it will take for the paint to fully harden and become resistant to water, heat, and wear.
The exact drying and curing times will vary depending on the type of paint being used, as well as the environmental conditions such as temperature and humidity.
As a general rule of thumb, allow at least two hours for each coat of paint to dry before applying additional coats or moving on to other parts of your project. As for curing times, consult your chosen product’s instructions to determine an appropriate amount of time.
To extend the life of your painted metal, regular cleaning and maintenance are essential.
Depending on exposure to dirt, moisture, and environmental factors, clean the surface weekly or monthly using warm water and mild soap. For tougher stains, use a non-abrasive cleaner to avoid damaging the paint.
Enhance durability by applying a protective topcoat such as wax, lacquer, or a clear metal sealant. Reapply periodically to maintain a fresh, polished look and shield against wear and tear.
Regularly inspect for wear or rust spots and address them immediately. If rust appears, use a chemical remover, dry the area thoroughly, and apply touch-up paint or a protective coating to prevent further damage.
If you’re too busy to paint your house or stain your fences, our team at Kind Home Solutions will do the job for you! Our team always follows our standard procedures to ensure that quality painting or staining is delivered on every project. Contact us today!