Home> Steps to Prepare Interior Surfaces for Painting
Steps to Prepare Interior Surfaces for Painting
Essential Steps to Prepare Interior Surfaces for Painting
Preparing interior surfaces before painting is a crucial step in achieving a flawless and long-lasting paint job. Proper surface preparation ensures better paint adhesion, durability, and a smooth finish.
Neglectingthis important stepcan lead to paint failure, uneven application, and premature peeling or cracking.
At Kind Home Solutions, we understand the significance of surface preparation and its impact on the overall quality of your interior painting project.
We pride ourselves on our expertise in interior surface preparation. Our team of skilled professionals is well-versed in the necessary steps and techniques to prepare various interior surfaces for painting.
We prioritize attention to detail and use high-quality materials to ensure that your surfaces are properly prepared for a flawless and long-lasting paint finish.
Importance of Surface Preparation
Proper surface preparation involves a thorough cleaning, repairing any damages or imperfections, and priming surfaces where necessary before applying paint.
This process ensures that the paint adheres well to the surface, leading to improved durability and longevity. By properly preparing the surfaces, we create a solid foundation for the paint to bond with, resulting in a smooth and professional-looking finish.
Skipping or neglectingsurface preparation can have detrimental effects on the final paint finish. Without proper cleaning and repairs, the paint may not adhere properly, resulting in poor adhesion, peeling, or flaking.
Imperfections on the surface, such as cracks or holes, can also be more visible after painting if not properly addressed during preparation.
Gathering the Necessary Tools and Materials
Before beginning the surface preparation process, it’s essential to gather the necessary tools and materials.
Here is a checklist of items you may need:
Drop cloths or plastic sheeting to protect floors and furniture
Painter’s tape for masking off edges and trimming
Protective gloves and eyewear
Cleaning solutions and sponges for surface cleaning
Putty knife and spackle for patching holes and filling cracks
Sandpaper or sanding block for smoothing surfaces
Cloth or lint-free rags for dust removal
Primer suitable for the surface type
Caulk and caulk gun for sealing gaps and seams
Clearing and Protecting the Area
Before beginning any surface preparation, it’s important to do the following:
Remove Furniture, Fixtures, and Coverings to Protect Them from Paint Splatters
To safeguard your furniture, fixtures, and other belongings during the painting process, it’s important to follow these steps:
Clear the room as much as possible by removing furniture, decorations, and other items from the area. You should also remove any furniture from the walls we will be painting.
Cover larger furniture pieces with plastic or drop cloths to protect them from paint splatters.
Remove light fixtures, switch plates, and outlet covers to ensure they remain paint-free.
Use painter’s tape to mask off edges and trim, providing extra protection and clean lines.
Covering Floors, Windows, and Other Surfaces to Prevent Damage
To prevent paint from splattering or dripping onto surfaces that shouldn’t be painted, follow these techniques:
Lay down drop cloths or plastic sheeting to cover the entire floor, ensuring it is securely taped or weighted down.
Use painter’s tape to protect baseboards, windowsills, and other areas that are not being painted.
For windows, apply masking film or cover them with plastic sheeting to prevent accidental paint splatters.
Cleaning and Repairing the Surfaces
Cleaning Walls, Ceilings, and Trim to Remove Dirt, Grease, and Stains
Before painting, it’s crucial to clean the surfaces to ensure proper paint adhesion. Follow these steps for effective surface cleaning:
Remove any loose dirt or dust by lightly dusting or vacuuming the surfaces.
Use a mild detergent or cleaning solution mixed with warm water to clean greasy or stained areas.
Scrub the surfaces gentlywith a sponge or soft cloth, paying attention to high-traffic areas and spots prone to dirt accumulation.
Rinse the surfaces thoroughly with clean water to remove any residue from the cleaning solution.
Allow the surfaces to dry completely before proceeding to the next steps.
Patching Holes, Filling Cracks, and Repairing Damaged Surfaces
To achieve a smooth and flawless paint finish, it’s important to repair any damages or imperfections on the surfaces.
Here’s how:
Use a putty knife to scrape away loose paint or debris from holes or cracks.
Apply spackle or a suitable patching compound to fill the holes or cracks, smoothing it out with the putty knife.
Allow the patched areas to dry completely, following the manufacturer’s instructions.
Once dry, lightly sand the patched areas to ensure a smooth and even surface.
Sanding and Smoothing
The Importance of Sanding Surfaces for Better Paint Adhesion
Sanding plays a crucial role in surface preparation, as it creates a smooth and even surface for the paint to adhere to. Here’s why sanding is important:
It removes any rough patches, bumps, or imperfections on the surface, ensuring a flawless paint finish where you may have patched an area.
It helps to smooth out patched areas, feathering them into the surrounding surface for a seamless appearance.
Proper Sanding Techniques and Selecting the Appropriate Grit
To achieve the best results during the sanding process, follow these tips:
Use sandpaper with the appropriate grit for the surface. Coarse grits (60-80) are suitable for rough surfaces or heavy repairs, while finer grits (120-220) are ideal for smoothing and preparing surfaces.
Sand in a circular or back-and-forth motion, applying even pressure. Avoid pressing too hard, as it can damage the surface.
Regularly check the surface while sanding to ensure a smooth and consistent finish. Lightly run your hand over the sanded area to feel for any rough spots or imperfections that may need further attention.
After sanding, remove the dust and debris with a tack cloth or vacuum cleaner before proceeding to the next steps.
Priming the Surfaces
Benefits of Using a Primer Before Painting
Priming is a vital step in the surface preparation process. You don’t need to prime every area, just where needed such as bare or exposed boards.
For those areas, primer can help with the following:
Primer enhances paint adhesion, allowing it to bond better with the surface and improving its durability.
It helps to create a uniform surface by sealing porous areas and providing a consistent base for the paint.
Using a primer ensures that the paint adheres evenly and provides a smooth, professional-looking result.
Differentiating Between Types of Primers and Their Applications
There are various types of primers available, each designed for specific surfaces or conditions.
Here are some common types and their applications:
All-Purpose Primer: Suitable for most interior surfaces, such as walls, ceilings, and trim. It provides good adhesion and coverage for general painting projects.
Stain-Blocking Primer: Ideal for covering stains, water damage, or discoloration. It prevents stains from bleeding through the paint and ensures a uniform finish.
Mold-Resistant Primer: Used in areas prone to moisture, such as bathrooms for basements. It helps prevent the growth of mold and mildew, ensuring a healthier and longer-lasting paint job.
Bonding Primer: Recommended for challenging surfaces like glossy or slick surfaces, previously painted surfaces, or surfaces with poor adhesion. It helps the paint adhere better and provides a strong bond.
Caulking and Sealing
Caulking is an essential step to ensuring a seamless and professional-looking paint job. Here’s why it’s important:
Caulking seals gaps, cracks, and seams in surfaces, preventing air or moisture infiltration.
It creates a smooth and continuous surface, enhancing the aesthetic appeal of the painted area.
Caulking improves the energy efficiency of the space by minimizing drafts and heat loss.
It helps to prevent paint from seeping into crevices, resulting in clean lines and a polished finish.
Choosing the right caulking product and applying it correctly is key to achieving the desired results:
Select a high-quality caulking product suitable for your specific needs, such as silicone, acrylic latex, or polyurethane-based caulks.
Prepare the surfaces by cleaning and removing any old caulk or debris before applying the new caulk.
Use a caulk gun to apply a consistent and even bead of caulk along gaps, seams, or joints.
Smooth the caulk immediately using a caulking tool or a wet finger, ensuring a neat and uniform finish.
Wipe away any excess caulk using a damp cloth.
Kind Home Solutions Services
We pride ourselves on expert surface preparation for flawless interior painting.
With meticulous attention to detail, top-quality materials, and a focus on customer satisfaction, trust us to transform your space with a beautiful, durable, and professional paint finish.
Choose Kind Home Solutions for your interior painting needs and experience the difference. Contact us today to discuss your project and let us bring your vision to life!

 Preparing interior surfaces before painting is a crucial step in achieving a flawless and long-lasting paint job. Proper surface preparation ensures better paint adhesion, durability, and a smooth finish.
 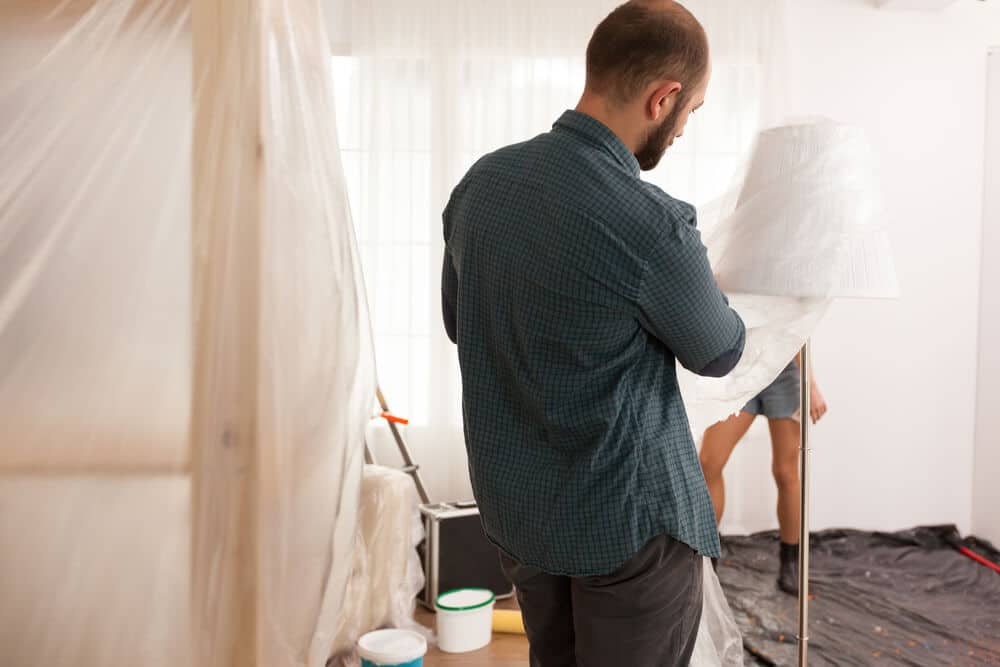 Before beginning any surface preparation, it’s important to do the following:
 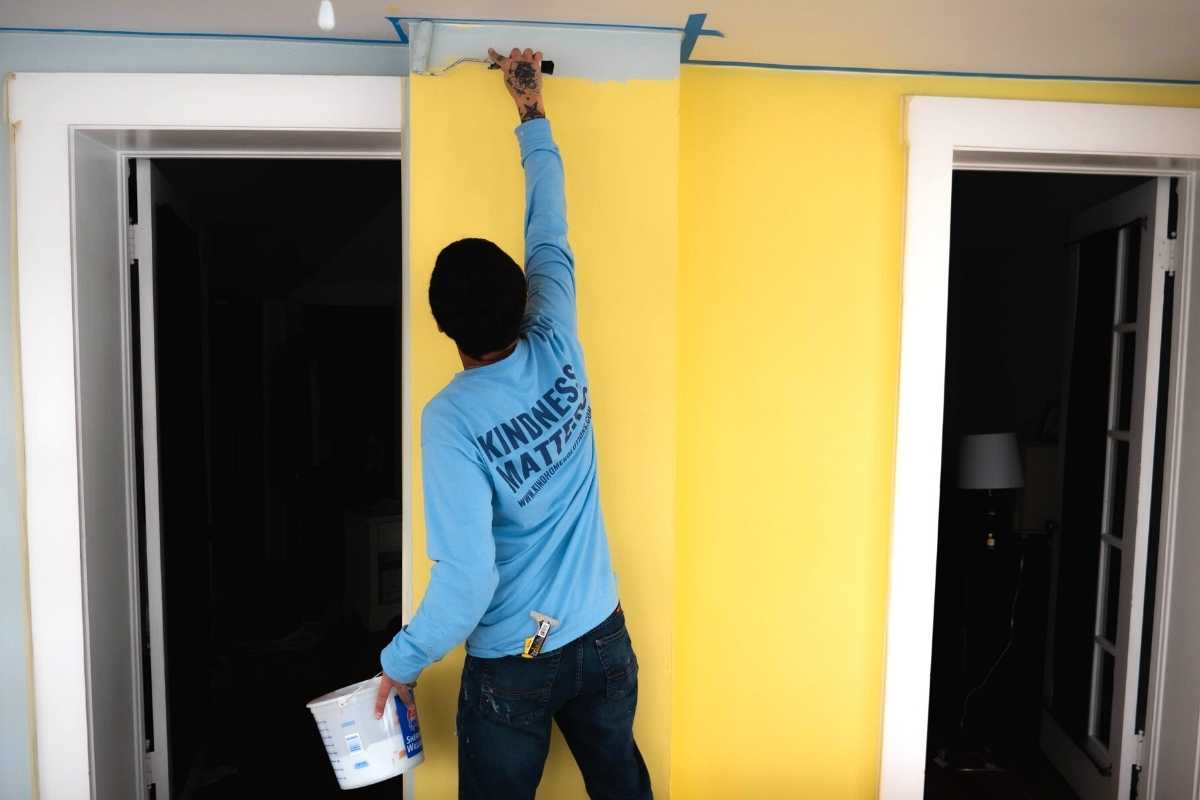 Priming is a vital step in the surface preparation process. You don’t need to prime every area, just where needed such as bare or exposed boards.